How to Coil and Carry a Rope: Shoulder Coils with Swiss Finish, Explained by a Mountain Guide
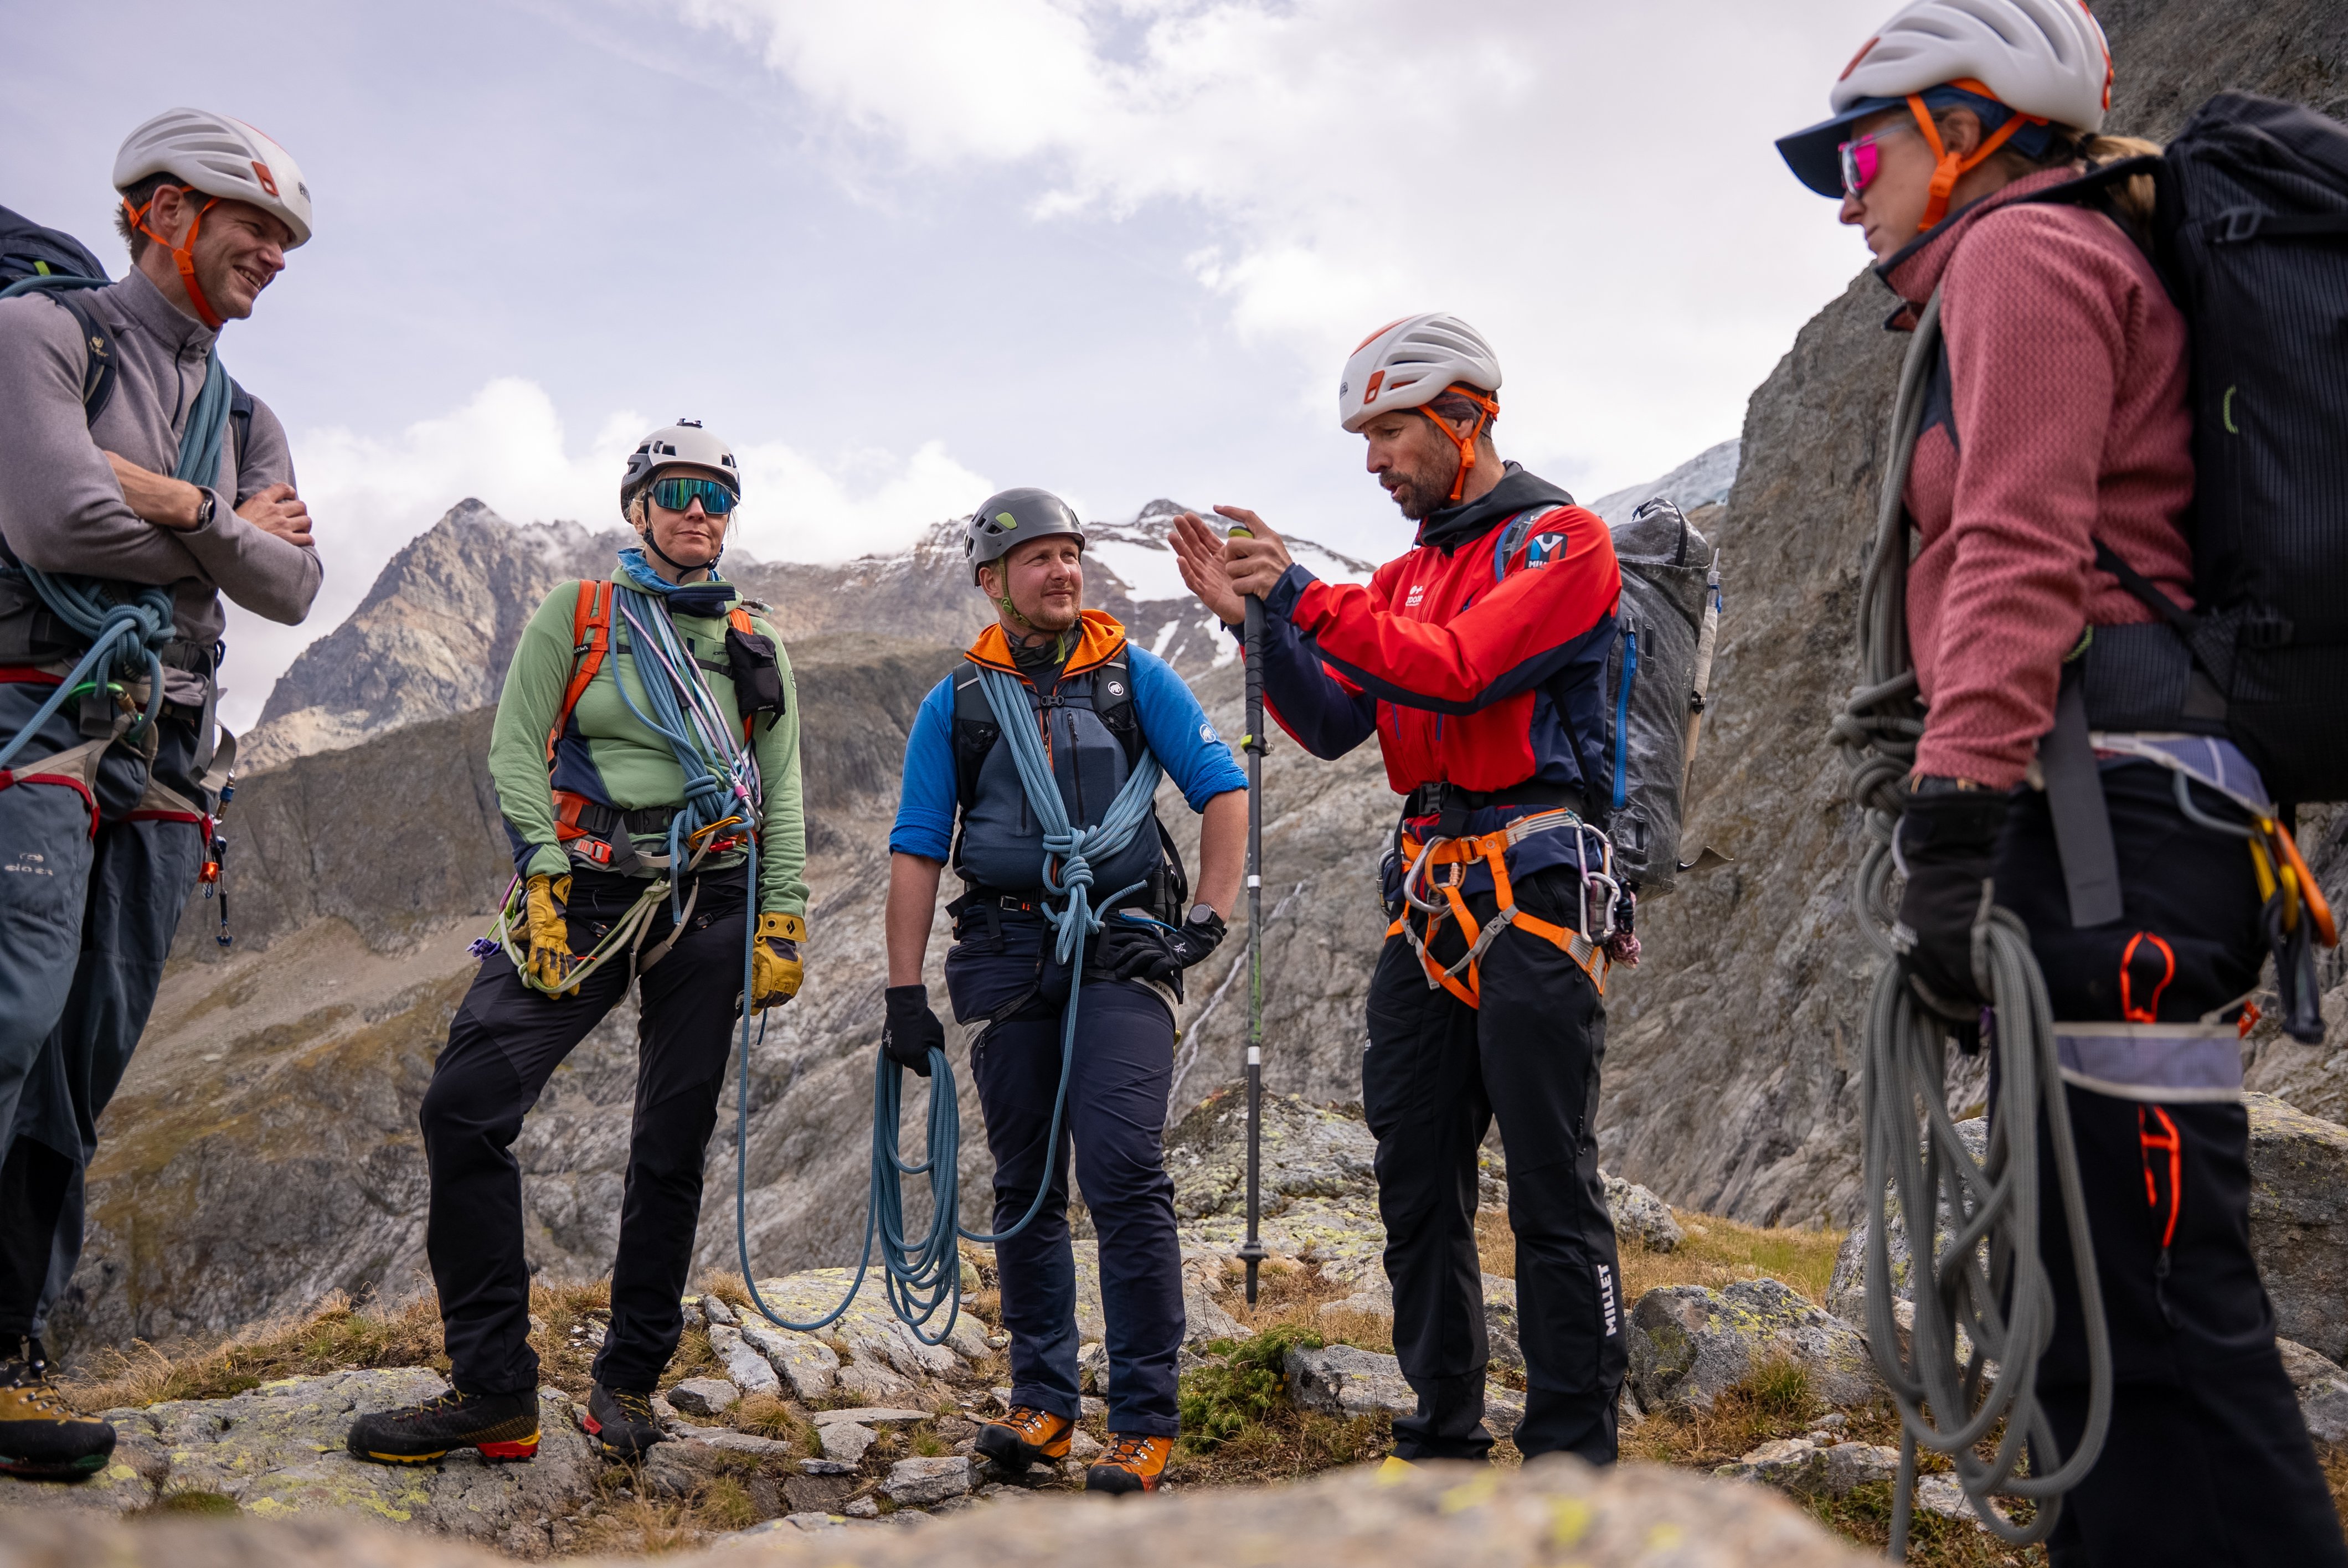
Every mountain guide carries the rope a little differently. There's the Zermatt style. There's the Swiss style and many more. The difference isn't in the effort, it's in the details: how long the bights are, where the knot sits, whether the closure is actually in your safety chain or just sitting on top of it. What follows is the Swiss method, because every loop comes out the same length, the bundle doesn't shift, and you're ready to climb the moment you arrive at the belay.
Why Your Coiling Method Matters
A dynamic climbing rope has an inner life of twisted nylon strands. Every loop you wind in one direction adds a full twist into the core. With the classic Mountaineer's Coil, that means roughly 60 stored rotations on a 60-meter rope, loaded like a spring. Toss the rope down for a rappel, and that energy releases into kinks and pigtails the second it leaves your hands.
Shoulder coils with the Swiss method work against this. You don't loop the rope in circles, you fold it in alternating bights, like a long butterfly across the neck. Each fold left cancels the twist of the fold before it on the right. The result is a package you can carry, drop, or open at the belay without the rope fighting you.
Then there's carrying comfort. A rope backpack with a bandolier-style closure centers the load on your back, keeps your hands free, and doesn't block the gear loops on your harness. Compared to the classic bandolier (coil slung diagonally), the load is symmetrical. On a two-hour approach to the Mittellegi Ridge or the Mönchsjochhütte, you feel that difference in your knees, not your shoulders.
Loading video player...
Step by Step: Shoulder Coils with the Swiss Finish
This is how you pack your rope the Swiss way. Read it through once, then practice it on your living room floor.
1. Find the middle. Hold both ends together and run the rope through your hands until you reach the midpoint. Use the factory marker or feel for it. While doing this, you're also inspecting the sheath for damage.
2. Lay the bights. Starting from the middle, drape alternating bights of about an arm's length over your neck or extended hand. Right, left, right, left. Each bight should reach from shoulder to just above the hip. No longer, or the package will catch on holds and crampons.
3. Measure the tail. When roughly seven to eight meters of double strand remain, you have enough. Take the bundle off your shoulder.
4. Wrap the core. Use the two ends to wrap tightly around the upper third of the bundle, from bottom to top, with tension. Ten to twelve wraps until you have a firm core.
5. Swiss Finish. Now the part that matters. Take the two strand ends and pass them through the tie-in loop on your harness, from the inside out. Bring them once around the main strands, then a second time as backup, and finish with a single fisherman's knot around the main strand. Clip the knot into a locking HMS carabiner on your harness.
6. Keep the knot up high. Important: the closing knot has to sit above your shoulder, not at your waist. Push the package up so the knot can't slide down. Otherwise the loop tightens around you in a fall and the rope hangs you on your own harness.

Basic Course Mountaineering
Zermatt vs. Grindelwald Style
In the video, the guide mentions the Zermatt style. The difference is small but relevant. The Zermatt style is faster. One continuous wrapping motion, loops stacked on top of each other, the closure comes from the wrap itself. The Grindelwald method takes two or three seconds longer because each bight is laid individually and the finish runs through your tie-in loop.
What the Grindelwald version does better: every loop is the same length, and the closure is mechanically integrated into your safety chain. If you fall while not tied into the rope, you don't drop into the carabiner and pull the whole bundle with you. With a sloppy bandolier or a rushed Zermatt coil, that's exactly what happens.
For short crag transfers, the faster style is fine. For alpine routes, multi-pitch climbs, and anything where the rope sits on your body for more than twenty minutes, the Swiss method earns its extra seconds.

What You Need, What You Can Skip
You don't need any special gear. This is enough:
- Your climbing rope (single or half rope, both work)
- Your harness with tie-in loop
- A locking HMS carabiner (not a snap gate, not a gear carabiner)
- About ten minutes of practice per session
What you can skip: rope bags for alpine routes. Useful at the sport crag, pointless on a glacier approach. They take up pack volume you need for food, crampons, and ice axe.
Common Mistakes
Knot too low. You'll notice when the bundle slides downward as you walk. Tighten it or repack.
Bights too long. You'll notice when the lower loops slap your knee or snag on rocks during scrambling. Lay them shorter next time.
Single fisherman too short. If you only do one wrap instead of two, you absolutely need the carabiner, otherwise the knot pulls through under load. Better to use a double fisherman, then it holds even without a carabiner.
Wrong shoulder. The bundle goes on your weaker shoulder, not the strong one. That keeps your dominant hand free for ice axe and gear handling.

Where to Learn This in Practice
An article doesn't replace a rope partner. If you want to learn rope handling properly, you do it on a short tour with a mountain guide, not in your living room. The Beginner Mountaineering Course is built for exactly this: knots, carrying the rope, belaying, crevasse rescue. You drill it until it sits, before you apply it on your own.
A useful combination: complete the course, then climb the Eiger Klettersteig or an easy alpine tour like the Wildhorn as your first application. The technique is fresh in your head, and the guide corrects you on the spot.
Pack It Once, Pack It Right
Order saves time. At the belay, on the approach, on the way down. If you pack your rope the Swiss way, you start every tour with ten minutes in the bank, without having to rush.
